Space plants 30cm apart, in rows 35-40cm apart.
Regular watering and a warm start are vital for celeriac.
Soil Preparation
Dig plenty of farmyard manure or garden compost into the ground to help retain moisture. Work the soil so that it is fine and crumbly.
Plant Out
Plant out when there is no risk of frost and when the days have warmed up - very late May or June. If young Celeriac plants get cold their growth will be stunted and they may flower prematurely, bolt. So, keep the young plants protected until the weather has really warmed up.
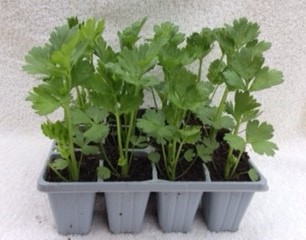
If the plants seem overcrowded in the tray, repot the seedlings into a 9cm pot, one plant per pot. The celeriac will grow on until it is safe to plant them outside.
A week before planting out, harden the plants off by placing the celeriac outside during the day and bringing it in at night. This will help them become acclimatised to the conditions outdoors.
Water the plants the night before planting out.

Take one plant out of the tray by placing a hand over the plants and tipping the tray upside down. Grip the leaves of one plant between finger and thumb and the soil ball will fall out of the cell into your hand.
Turn the ball the right way up. Take care not to disturb the roots.
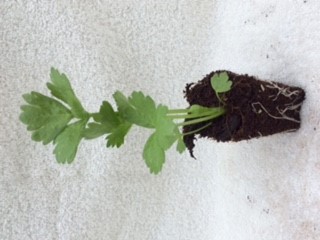
Make a hole in the ground that is the same size as the root ball. Place the plant in the hole so that the stem base is at soil level. The crown of the root at the stem base must not be buried. Gently push the soil around the roots to fill in the hole holding the leaves to keep the plant vertical.
Cover the plants with cloches or fleece if planting out in May. A warm, sheltered environment will help to get them going. Celeriac has a long growing period, so the sooner they get moving the better.
Water
When all the celeriac seedlings are planted, water them well. Continue watering them regularly throughout the growing season. Celeriac must never dry out but take care not to over water or the soil will become waterlogged. Celeriac does not grow well in waterlogged soil.
Weeds
Pull weeds out as they appear. This will remove any competition for water and nutrients.
Mulch
Mulch the celeriac by covering the soil with a layer of garden compost. This stops the soil drying out and keeps the weeds down. The mulch must not cover the crown of the root at the stem base.
Tidy Up
Celeriac grows new, fresh, green leaves from the central stem. The older, outer leaves fan out leaning towards the ground.
When the crown of the root at the stem base starts to swell, the bottom two or three outer leaves can be removed. Keep removing the outer leaves as more central ones grow to allow the crown to swell up evenly. Remember that the leaves are ‘the factory’ which feeds the plant so avoid taking too many off. Strike a balance.
Also take out any dead leaves and side shoots as they appear.
Fertilise with a general-purpose fertiliser every three or four weeks.
Harvest
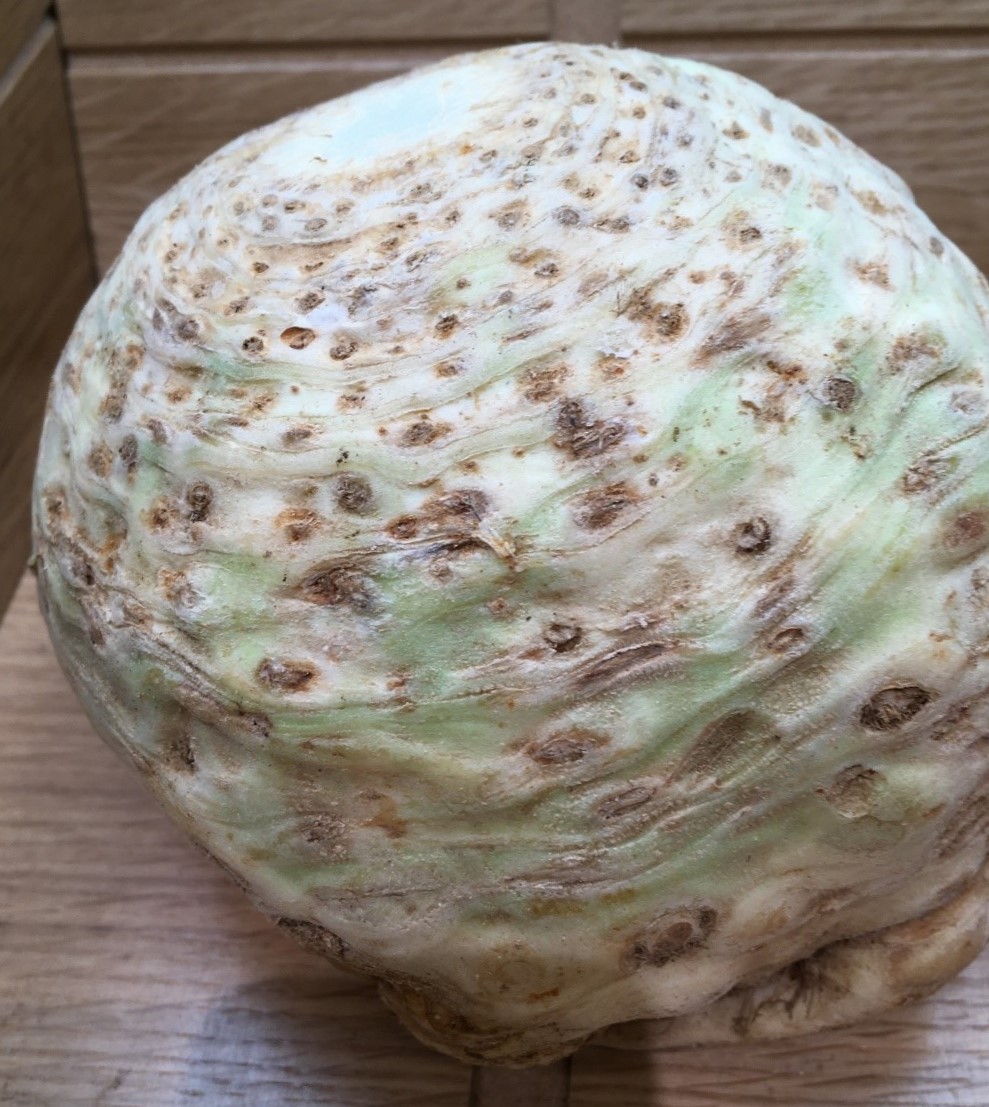
Celeriac will be ready to harvest 5 or 6 months after planting out, when it is at least 10cm in diameter. It does not have to be harvested as soon as it is ready. Celeriac can stay in the soil for several months without deteriorating, so harvest can span from October to March. Covering the soil with straw in really cold winter weather protects them from frost.
To harvest the celeriac, place a garden fork gently underneath it. Pull the leaves up and shake the soil off the roots. Trim the leaves from the top of the plant to leave 5cm of stalk. Cut off all the roots and rub away the soil.
Storing
Do not wash the celeriac before storing. Just brush the soil off. Store the Celeriac in a box, bin or bucket and cover it with sand, compost or dry soil. Leave the container in a cool, dry shed or garage.
If the celeriac is grown in soil which is likely to be wet or waterlogged in winter, lift it early whilst it is still dry and store it.
Mon - Fri 8:00am - 5:00pm
Sat & Sun 9:00am - 5:00pm

Any questions? Email us or give us a call on 01904 400092.